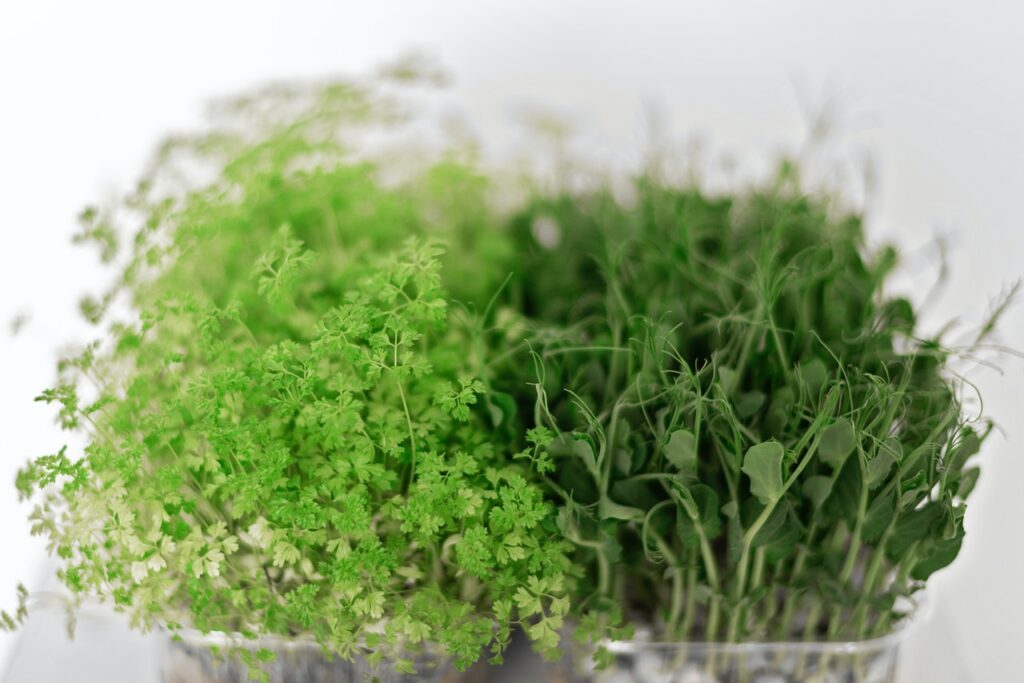
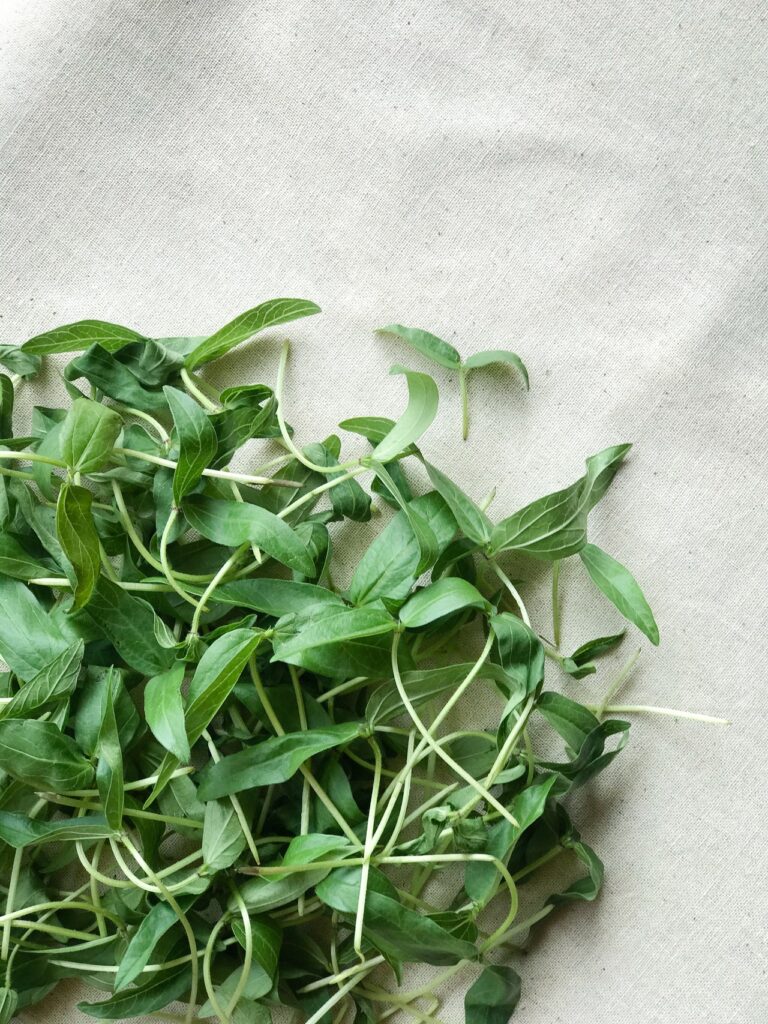
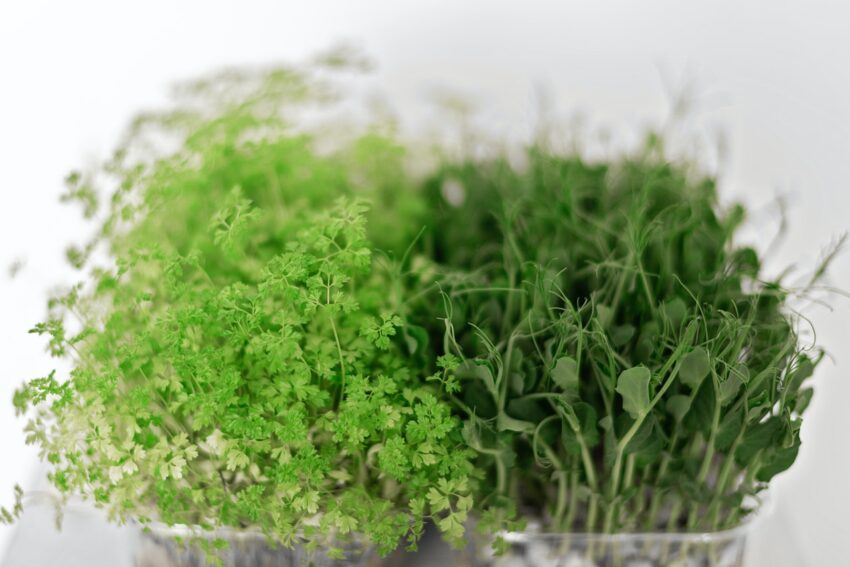
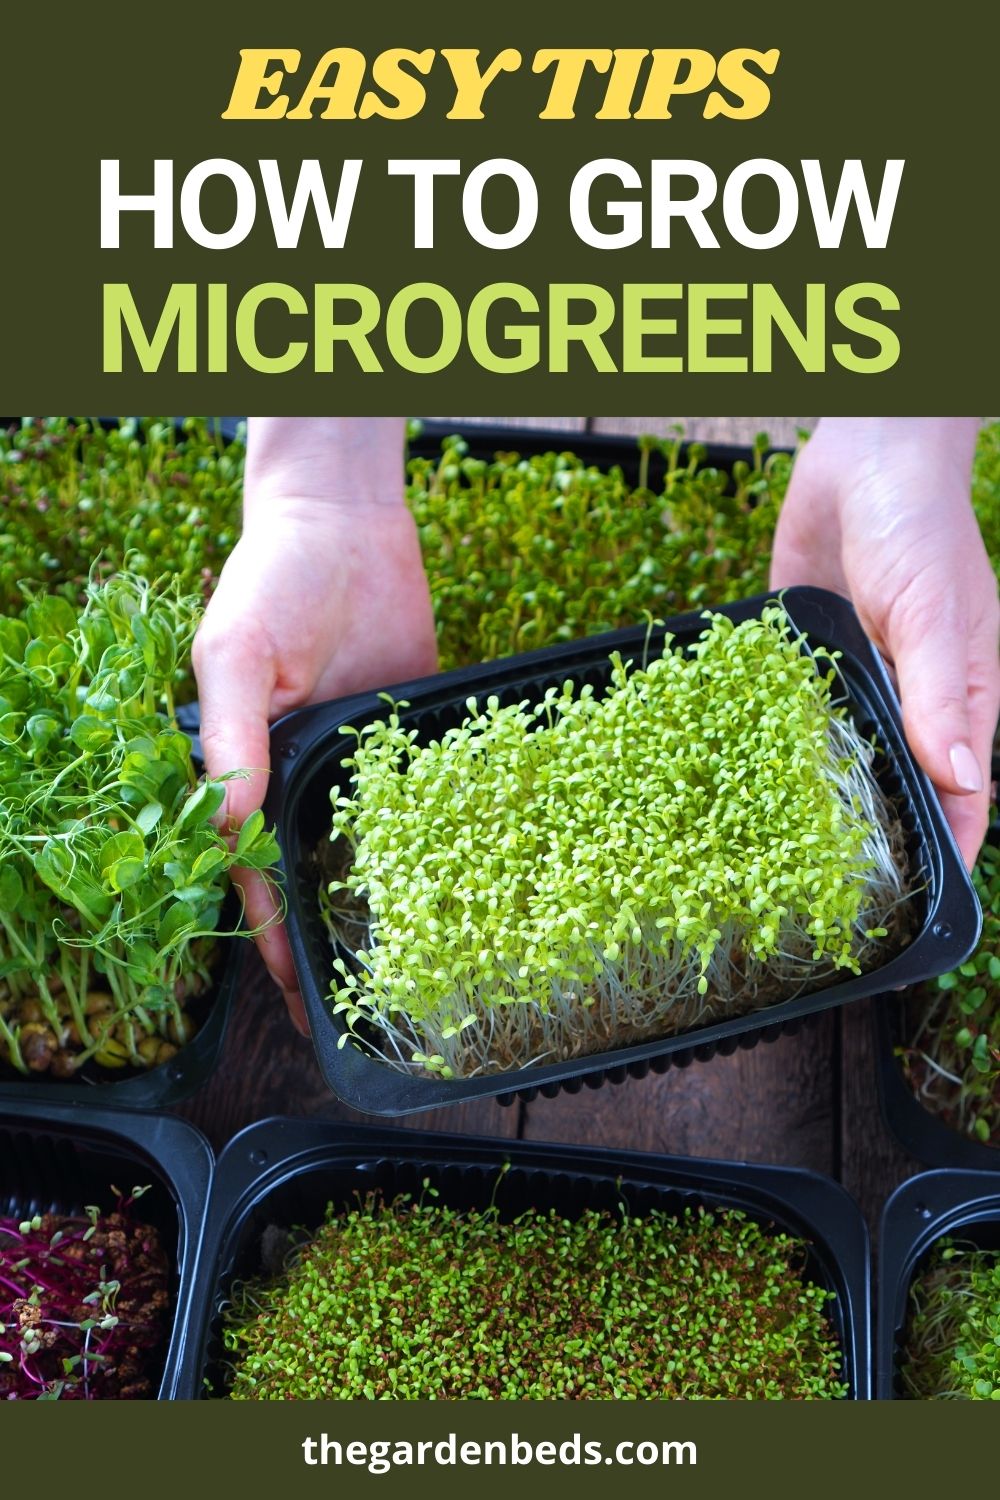
Among the easiest and fastest-growing crops, microgreens offer a palette of fresh flavors, from mild to spicy, and inspire repeated plantings for an ongoing supply of fresh greens for creative uses. Here’s how to grow microgreens indoors.
Growing microgreens at home is incredibly simple, and it can be done without special equipment or much gardening background at all. Fresh greens are wonderful in salads, on sandwiches and wraps, and sautéed into hash or stir fry. You can choose whatever greens you enjoy the most—from kale to arugula to radishes—to create your own perfect microgreen mix.
What are microgreens?

People also read – How to Grow Garlic Indoors
Also known as “vegetable confetti,” microgreens are sometimes confused with sprouts — germinated seeds that are eaten root, seed and shoot. Microgreens, however, include a variety of edible immature greens, harvested with scissors less than a month after germination, when the plants are up to 2 inches tall. The stem, cotyledons (or seed leaves) and first set of true leaves are all edible.
What Is the Difference Between Microgreens and Sprouts?
In essence, sprouts and microgreens are the same seed, but at different stages of development. Microgreens are “mature” sprouts, which have been allowed to grow a little longer to the stage where they have visible leaves. Because of their tiny leaves, microgreens have much more flavor and possibly more nutrients than baby sprouts. Because you can keep them alive up until you cut them, they last much longer than sprouts.
Sprouts can grow in a jar with just water, where microgreens need a base- either a growing pad or soil.
The Healthiest Microgreens
Broccoli sprouts are one of the most nutrient-dense microgreens you can grow. They are full of glucoraphanin and sulforaphane which are known to prevent cancer. They are highest in minerals and vitamins, so I usually grow these along with another flavor.
How To Grow It

Planting
Microgreens are very easy to grow. You can grow them in the ground, in a raised garden bed, or in a container outdoors or inside on a sunny windowsill.
If you’re planting microgreens in a garden bed, loosen the soil and rake it smooth. Scatter your seed mix so that the seeds are about 1/8 inch to 1/4 inch apart. Remember, you’ll harvest them very young, so they don’t need a lot of room. Once the seeds are scattered over the area, cover them with about 1/8 inch of soil and water to evenly moisten the soil.
If you’re planting in a container, choose a pot that is at least 2 inches deep and as large in diameter as you want. Fill it with a good quality organic potting mix, and smooth the soil. Scatter the seeds so that they are about 1/8 to 1/4 inch apart, and cover with 1/8 inch of soil. Water to moisten the soil, and place your container in a spot where it will get at least four hours of sunlight. For indoor growth, a south-facing window is best, but an east- or west-facing one will do as well.
Maintenance
Don’t let the soil dry out. And remove any weeds that pop up, so the tiny greens don’t have to compete with them for water and nutrients. If you have rich soil in your garden bed, you won’t need to fertilize. For containers, mixing in a bit of granular organic fertilizer to the soil before you plant is ideal if your potting mix doesn’t already contain fertilizer.
Microgreens grow for such a short period that they are rarely bothered by pests and diseases. However, if you are growing brassicas in your mix (mustard, kale, etc.) and cabbage worms are a problem, consider adding a floating row cover to protect them.


