In this post you can learn How To Plant Potato Sprouts!
Potatoes are the quintessential vegetable that can be grown in any medium. They’re easy to care for and rewarding, not only because of what they provide but also the convenience when it comes time to harvest them!
Why Do Potatoes Sprout?
Potatoes, like all plants, have a goal to reproduce and create a new generation. Even in seemingly hostile conditions, they will attempt to do this.
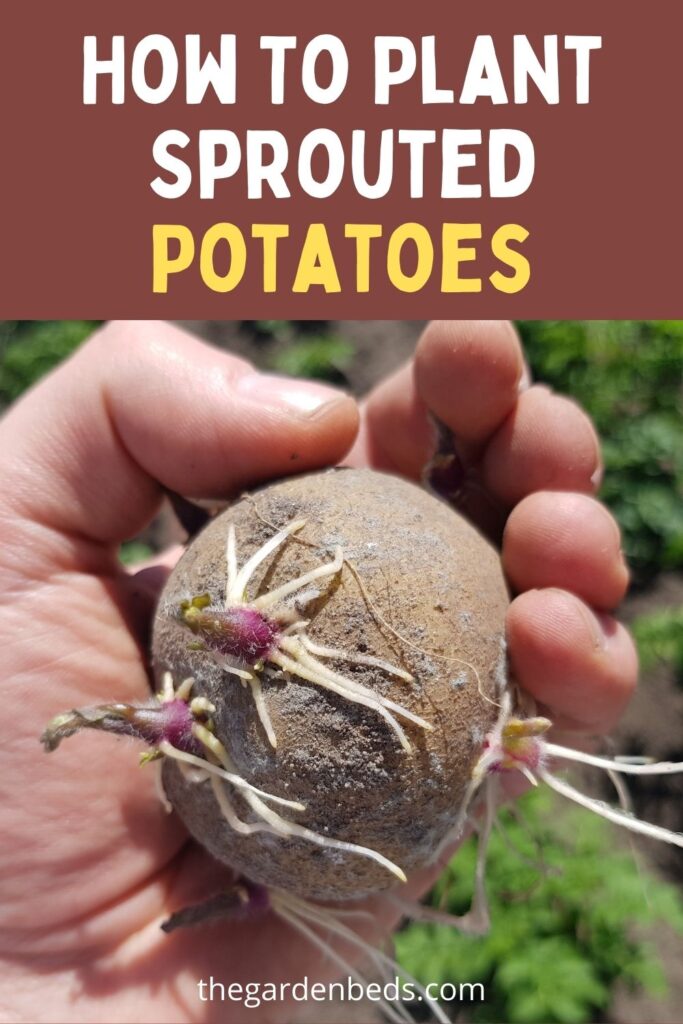
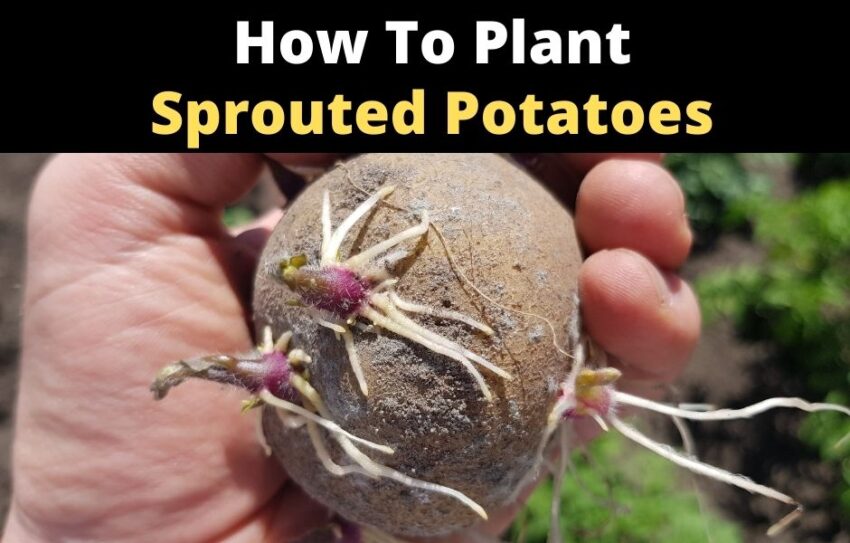
Potato sprouts look like white “roots” growing out of the tuber. Sometimes, these sprouts have some green or reddish-purple coloring.
When you see potatoes growing sprouts, it simply means that they are moving forward with the next phase of their life cycle: attempting to create a new plant. Long potato sprouts are inevitable in tubers that are left out too long – they are trying to find soil to dig into so they can make a more permanent home!
How To Plant Potato Sprouts
Pick Your Potato Sprouts
To start, you’re going to have to separate the sprouts on the potato. A single potato doesn’t necessarily have a single sprout. Quite the opposite, actually – most time, a single potato will have several sprouts. What you should do is cut the potato into as many pieces as the number of sprouts on it. That way, each sprout will still be attached to a part of a potato.
When it comes to determining how many sprouts you’ll need – that depends on how many plants you plan on planting. You’ll need ten sprouts for ten mounds of potatoes, obviously.
Leave Them Out To Dry
After you’ve cut the potatoes into pieces, you should leave them out to dry in the sun for a few days. This way, you’re heavily reducing the chances of the potatoes developing rot once you’ve planted them.
Plant The Sprouts
Once they dried out, the sprouts are ready to be planted. You should plant your potatoes in early spring (spring doesn’t have to come at the same time in all areas, so keep that in mind).
You should dig a small hole in the ground and set the cut segments with the sprout facing upwards in the hole. The hole should be about 6 inches deep, and there should be about 12 inches of free space in all directions. Potatoes grow under the ground in a cluster, so they need a lot of space to huddle up underneath the ground.
After that, just cover them with plenty of dirt and some water!
Plant Care
The sprouts will continue to grow, developing stems with leaves as the season continues. When the plants reach about a foot in height, mound the soil up around them to within about 4 inches of the top. This is known as hilling, which prevents sunburn and enables your plants to produce more potatoes. The baby potatoes form along the portion of the stem that’s underground. If you continue to hill around the stem while the plants are actively growing, you’ll provide more underground stem area to produce more spuds.
Harvesting Potatoes
When the plants begin to flower, stop hilling and dig the baby potatoes, which should be used within a few days of digging. These delicate, thin-skinned treats are easily damaged, so use a small trowel around the plants to find handfuls of small tubers. Spread mulch around the remaining plants to conserve moisture and discourage weeds.
When the tops of the potatoes begin to brown, cut them to soil level; then dig the rest of the potatoes 14 to 21 days afterward, which gives them time to develop tougher skins. Choose a dry day to dig your potatoes, as it’s more difficult in wet, muddy ground. Use a shovel or fork to carefully dig up the entire plant, leaving the freshly dug potatoes lying on the garden soil for a few hours. Place the potatoes in a cool, dry place for approximately two weeks, which allows them to cure. When the potatoes are cured, brush off any loose dirt and store them in a dry, dark area, like a root cellar, at 35 to 40 degrees Fahrenheit for best results.


