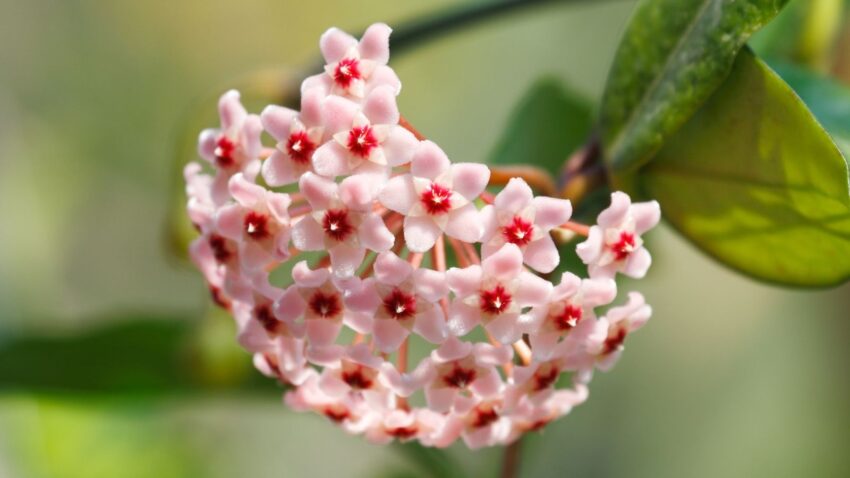
The hoya plant is a popular houseplant that offers wonderful foliage and blooms. This article will teach how to grow and care for hoya plants indoor by following the 6 steps.
What is Hoya Plants?
Hoya plants are a type of evergreen that is native to tropical and subtropical regions of Asia. They are also known as wax plants or Porcelain flowers. Hoya plants can range in size from small creeping vines to large shrubs. They have fleshy, leathery leaves and produce clusters of small, fragrant flowers.
Hoya plants are relatively easy to care for. They prefer bright, indirect light but can tolerate some direct sun. They should be watered when the soil is dry to the touch. Allow the soil to dry out completely between watering. Hoya plants are not heavy feeders but benefit from occasional fertilization during the growing season.
Hoya plants are generally resistant to pests and diseases. However, they can be susceptible to mealybugs and scale insects. These pests can be controlled with regular applications of insecticidal soap or horticultural oil.
Overall, Hoya plants are easy to care for and make a great addition to any home or office. With proper care, they will thrive and produce beautiful flowers.
Step 1 – Selecting the Plant
When selecting the plant you should look at its width and height, which will determine the final size of the plant. Before buying it, make sure that it is a healthy one and does not have any pest or disease. The leaves should look fresh and healthy.
Step 2 – Location of the Plant
The hoya is a tropical plant that likes to live in warm and humid conditions. Hence, place it near a window where it gets sunlight during most parts of the day in summer. However, if there are colder conditions outside you can place it in an unheated room or on a patio where it would get around 5-10 hours of sunlight every day. During winter keep it away from cold windows.
Step 3 – Soil and Fertilizer
The hoya plant can be grown easily in a mixture of peat moss and sand. A soil mixture with a little extra fertilizer added is best for the plant. You should not use water that is very hard. The location of the plant should be such that it does not get splashed by water or any other object that falls on it.
Step 4 – Watering
The hoya needs moderate water supply while growing, but too much of it will cause rotting at the base of the pot. Hence, do not let the soil dry out completely before watering again, as this may make your plant sick or rot.
Step 5 – Pests and Diseases
When you are growing hoyas, you must always be on the lookout for pests and diseases that they may be prone to. You should check the plant often for signs of water rot or other infections. Remove any affected leaves right away so as to avoid any further infection.
Step 6 – Propagation
Hoyas can be propagated by taking cuttings of the existing plant and then putting them in a pot filled with peat moss or sand with a little fertilizer added to it. In four to five months, you will see new growth coming out from the sides of these cuttings. These can be put in their own pots when they are a little bigger and once they are well established, they can easily be transplanted into your garden area where you can enjoy their beauty. You can also grow new plants from root cuttings. Just take a piece of the root and place it in a pot and keep it moist until roots grow out of it. Then plant it in its own pot and keep it moist until roots appear. Then transplant that plant into your garden area.
Conclusion
Hoya plants are beautiful, easy to care for houseplants that can brighten up any space. With a little bit of love and attention, your hoya plant will thrive and bloom for years to come. Follow the steps outlined in this article, and you’ll be well on your way to becoming a hoya plant caretaker extraordinaire!

