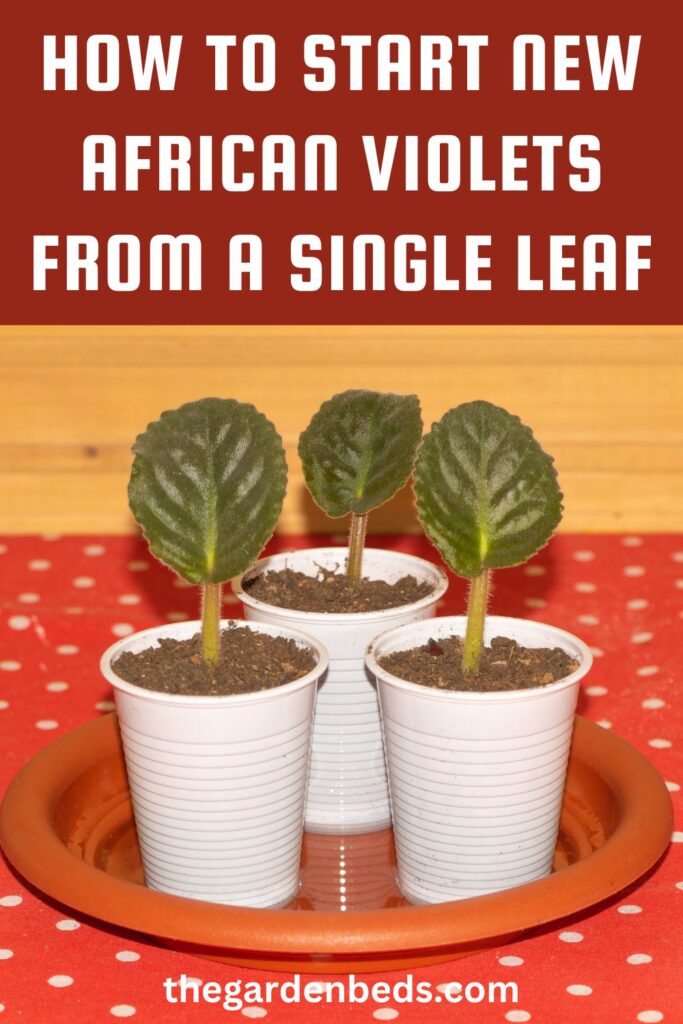
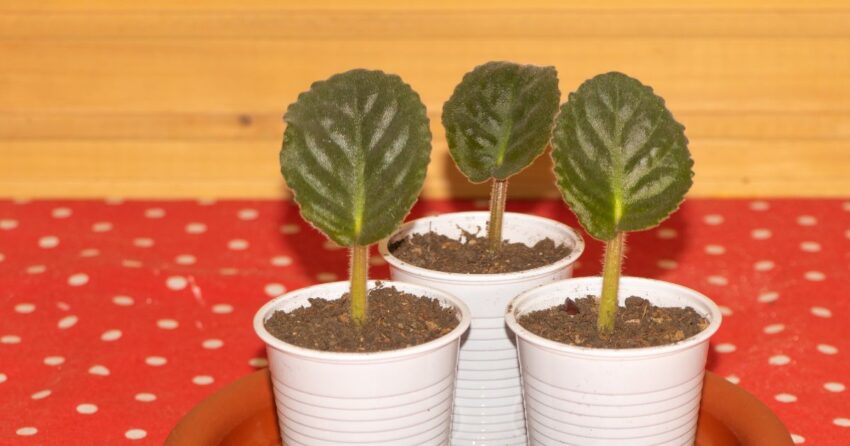
African violets, with their delicate, velvety petals and vibrant colors, are beloved houseplants that can brighten up any indoor space. One of the most fascinating aspects of these charming plants is their ability to propagate from a single leaf, allowing you to create new African violets from your existing ones. Whether you’re a seasoned gardener or a beginner, this step-by-step guide will walk you through the process of propagating African violets, so you can expand your collection and share their beauty with friends and family.
-
Selecting the Right Leaf
The first step in propagating African violets is to choose a healthy leaf from a mature plant. Here’s what to look for:
- Opt for a leaf that is free from disease, pests, or damage.
- Select a leaf that is in the middle of the plant rather than the oldest or newest leaves.
- Ensure the leaf has a visible petiole (the small stem-like structure that attaches the leaf to the main stem).
-
Preparing the Leaf Cutting
Once you’ve chosen the right leaf, follow these steps to prepare the cutting:
- Use a clean, sharp knife or scissors to cut the leaf, making sure you include about an inch of the petiole.
- Make a clean, diagonal cut at the base of the petiole to maximize the surface area for rooting.
-
Rooting the Leaf Cutting
Rooting the leaf cutting is a crucial step in propagating African violets. Here’s how to do it:
- Fill a small pot or tray with a well-draining potting mix specifically formulated for African violets.
- Insert the petiole of the leaf cutting into the soil, burying it about half an inch deep.
- Water the cutting lightly to settle the soil around it.
-
Creating a Humid Environment
To encourage successful rooting, it’s important to create a humid environment for your African violet leaf cutting. You can achieve this by:
- Covering the pot or tray with a clear plastic bag or a plastic dome to trap moisture.
- Place the cutting in indirect light, avoiding direct sunlight, which can scorch the delicate leaf.
-
Caring for Your Cutting
Proper care is essential to ensure your African violet leaf cutting develops into a healthy plant:
- Maintain a consistent level of humidity by misting the cutting regularly or by ensuring the plastic covering remains in place.
- Check for root development, which typically takes several weeks to a few months. Once you see roots, you can remove the plastic covering.
- Transplant the rooted cutting into a small African violet pot filled with appropriate potting mix.
-
Nurturing Your New African Violet
After transplanting, continue to care for your new African violet as you would an established plant:
- Place it in a location with bright, indirect light.
- Water the plant when the top inch of soil feels dry, being careful not to let it sit in standing water.
- Fertilize your African violet with a balanced, water-soluble fertilizer according to the package instructions.
Conclusion
Propagating African violets from a single leaf is a rewarding and cost-effective way to expand your collection of these delightful houseplants. With a little patience and attention to detail, you can successfully nurture new African violets from leaf cuttings and enjoy their beautiful blooms and lush foliage throughout your home. Share the joy of growing African violets with fellow plant enthusiasts, and watch as your collection flourishes with each propagated leaf.


