Chia seeds, often dubbed a superfood for their exceptional nutritional value, are not only great for your diet but also remarkably easy to grow at home. Whether you’re a seasoned gardener or just starting out, this comprehensive guide will walk you through the process of chia seed growing, from selecting the right seeds to harvesting a bountiful crop.
1. Selecting High-Quality Chia Seeds
Before you begin your chia growing journey, it’s crucial to start with high-quality seeds. Look for seeds from reputable suppliers to ensure the best chance of success. Opt for organic chia seeds, if possible, to avoid potential chemical contaminants.
2. Choosing the Right Container or Garden Bed
Chia plants can thrive in containers, garden beds, or even hydroponic systems. Ensure the chosen container has good drainage, as chia plants do not tolerate waterlogged roots. If planting in a garden bed, loosen the soil to a depth of 6-8 inches and mix in some organic compost.
3. Planting Chia Seeds
Plant your chia seeds about 1/4 inch deep in the soil or growing medium. Space the seeds about 2 inches apart. If you’re planting in rows, leave around 12 inches between each row to allow for sufficient growth space.
4. Providing Adequate Sunlight
Chia plants love sunlight. Place your containers or garden bed in a location where they can receive at least 4-6 hours of direct sunlight each day. If you’re growing chia indoors, consider using grow lights to supplement natural sunlight.
5. Watering Carefully
Chia plants are drought-resistant, so it’s essential not to overwater them. Keep the soil slightly moist but not soggy. Watering once or twice a week should suffice, but adjust based on your local climate and the plant’s needs.
6. Fertilizing Your Chia Plants
Chia doesn’t require much fertilizer, especially if you’ve prepared the soil with compost. However, a balanced, all-purpose fertilizer can be applied sparingly every 4-6 weeks during the growing season to ensure healthy growth.
7. Monitoring Growth
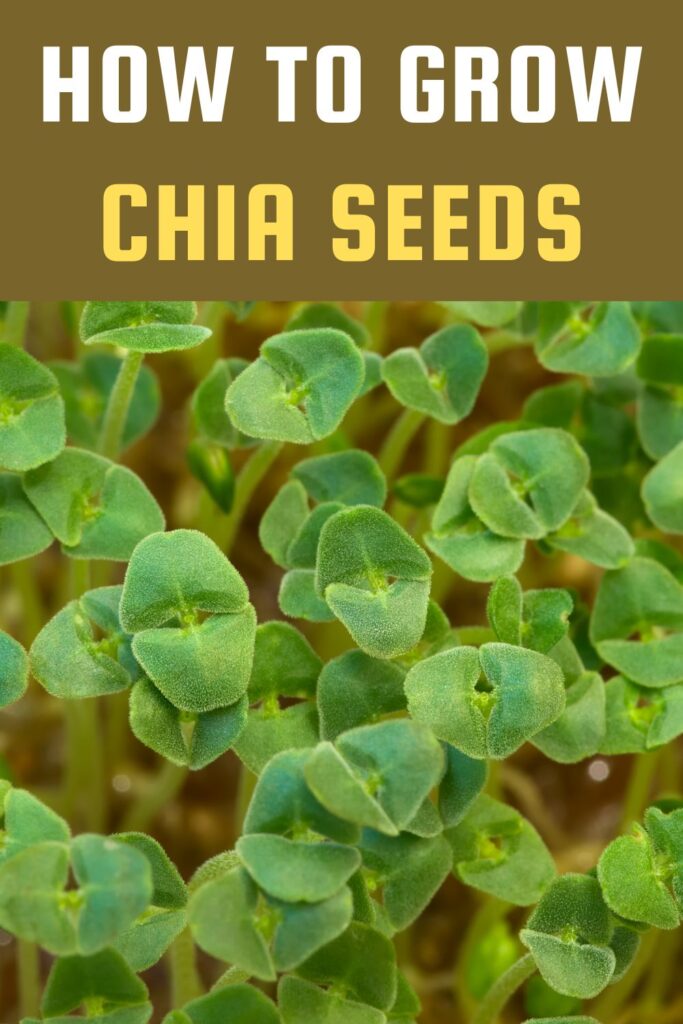
Chia seeds typically germinate within 7-14 days. As they grow, you’ll notice distinctive green sprouts. Be patient, as chia seedlings may take some time to establish themselves.
8. Thinning and Transplanting
If your chia plants become too crowded, thin them out by removing the weaker seedlings, allowing the stronger ones to flourish. You can transplant the excess seedlings to other containers or garden areas if desired.
9. Harvesting Chia Seeds
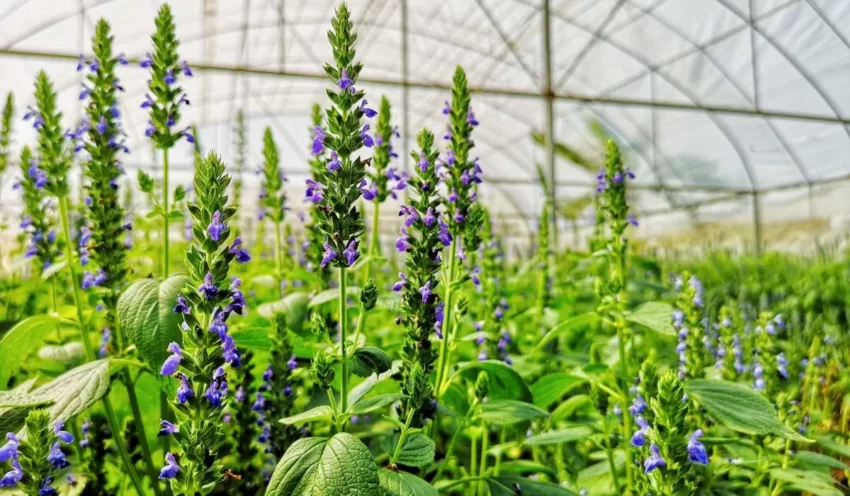
Harvest your chia seeds when they have reached maturity, usually within 2-4 months after planting. The flower heads will dry and turn brown, indicating they are ready for harvest. Carefully collect the seed heads and gently crush them to release the tiny chia seeds.
10. Storing Your Harvest
Store your harvested chia seeds in an airtight container in a cool, dark place. Chia seeds can last for years when stored correctly.
Conclusion:
Growing chia seeds can be a rewarding and simple addition to your gardening endeavors. With the right seeds, well-prepared soil, proper care, and patience, you can enjoy a fresh supply of nutritious chia seeds right from your home. Whether you use them in smoothies, yogurt, or as a topping for salads, your homegrown chia seeds will provide you with a healthy and sustainable source of nutrition. Start your chia seed growing adventure today and reap the benefits of this incredible superfood.


