
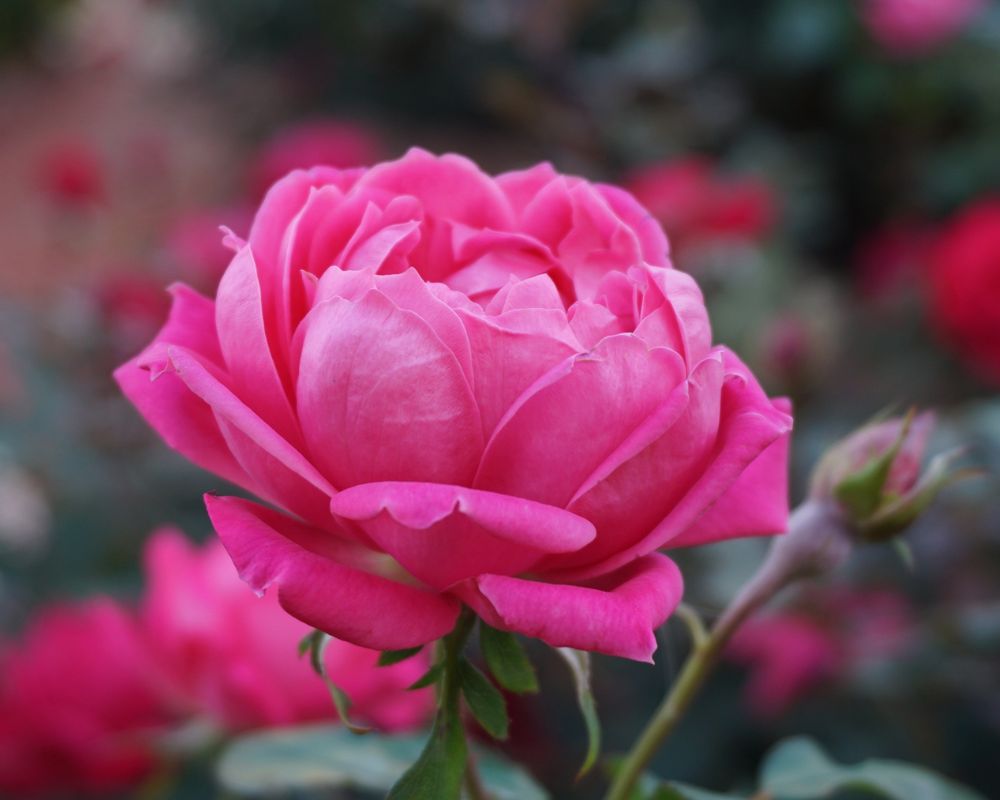
Roses are more than just flowers; they are symbols of love, beauty, and passion. Renowned for their stunning blooms and captivating fragrance, roses have a special place in both gardens and hearts. If you’re a rose enthusiast, you might be intrigued by the idea of growing these exquisite flowers from buds. This article will guide you through the process of “How to Grow Roses from Buds,” providing you with detailed steps, tips, and insights to help you cultivate your own rose garden from buds.
Why Grow Roses from Buds?
Growing roses from buds offers several advantages. It’s an economical approach to expanding your rose garden, as it allows you to create new plants from existing ones. This method is particularly beneficial for propagating rare or heirloom varieties that may not be readily available in nurseries. Additionally, there’s a unique satisfaction in nurturing a bud and watching it blossom into a full-grown rose.
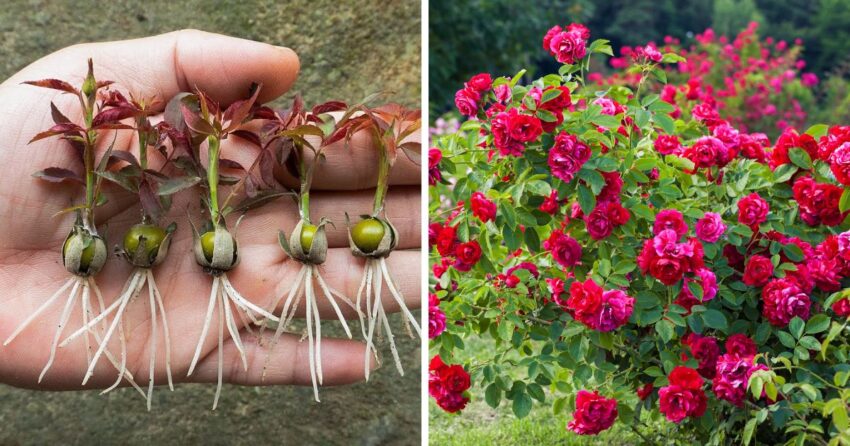
Understanding Rose Buds
A rose bud is a young shoot that has the potential to develop into a flower. Unlike seeds or cuttings, buds require grafting onto a rootstock – another rose plant that provides the root system. This technique is known as budding, and it’s particularly effective for roses. Most rose varieties can be propagated through this method, but it’s essential to choose buds from healthy, disease-free plants.
Required Tools and Materials
To start, you’ll need a few essential tools and materials:
- A sharp budding knife
- Budding tape or strips of clear plastic
- A healthy rose plant to serve as rootstock
- A selection of rose buds from your chosen variety
Step-by-Step Guide to Growing Roses from Buds
1. Choosing the Right Bud:
Select plump, healthy buds from a vigorous rose plant. The best buds are those that are just about to open.
2. Preparing the Rootstock:
Choose a spot on the rootstock plant that’s free of leaves and thorns. Make a T-shaped cut in the bark, ensuring it’s clean and precise.
3. The Budding Process:
- Carefully slice the chosen bud from the donor plant, including a small piece of the stem bark.
- Insert the bud into the T-cut on the rootstock.
- Secure the bud in place using budding tape, making sure it’s snug but not overly tight.
4. Aftercare:
- Water the plant regularly and ensure it gets adequate sunlight.
- Once the bud starts growing, carefully remove the tape.
- Prune away any shoots that grow below the bud to direct the plant’s energy to the new growth.
Troubleshooting Common Problems
Some common issues you might encounter include bud rejection, where the bud fails to integrate with the rootstock, and problems with pests or diseases. Regular monitoring and maintenance can help prevent these issues. If problems arise, consult a local horticulturist or a trusted gardening resource.
Tips for Success
- The best time for budding roses is late summer when the plants are actively growing.
- Prepare the soil well before planting the rootstock, ensuring good drainage and fertility.
- Patience is key – some buds may take time to show growth.
Conclusion
Growing roses from buds is a rewarding experience that allows gardeners to replicate and preserve their favorite varieties. With patience and care, you can transform a simple bud into a stunning rose that enhances your garden and brings joy for years to come.
FAQs
Q: Can all types of roses be grown from buds? A: Most roses are suitable for budding, but it’s always best to choose healthy, vigorous donor plants.
Q: How long does it take for a budded rose to bloom? A: It can take a few months to a year for a budded rose to fully establish and bloom, depending on the variety and growing conditions.
By following these guidelines, you’ll be well-equipped to start your journey of growing roses from buds, adding a new dimension to your gardening experience.

Read also: Caring for Poinsettias: Keeping Your Holiday Blooms Vibrant and Healthy