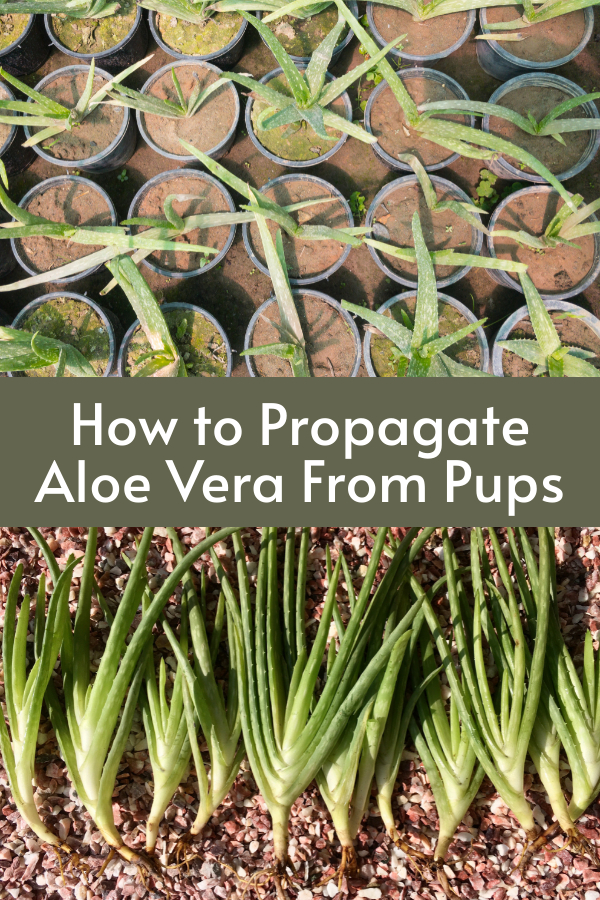
Hey there, green thumbs! Are you ready to expand your succulent collection? If you’ve got a thriving Aloe Vera plant and want to multiply its leafy goodness, you’re in for a treat. We’re about to dive into the exciting world of propagating Aloe Vera from pups, those cute little offshoots that your plant might be hiding.
In this article, we’ll walk you through the steps to propagate Aloe Vera like a pro. Whether you’re a seasoned plant enthusiast or a newbie, we’ve got you covered. So, grab your gardening gloves, and let’s get started on this green adventure!
What are Aloe Vera Pups?
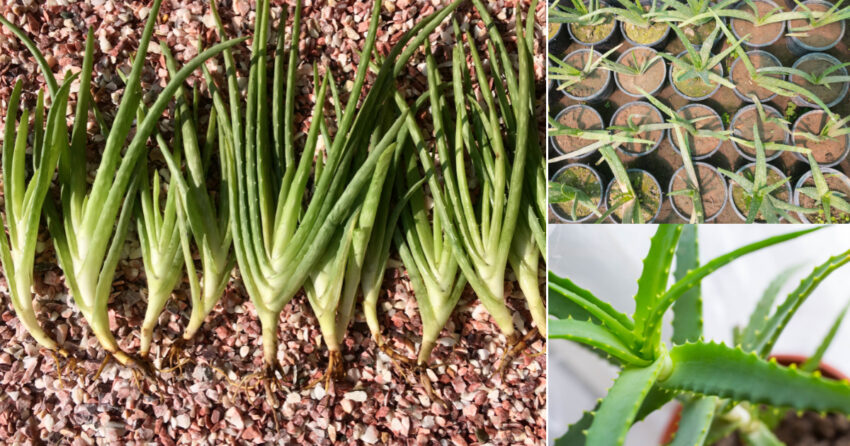
Before we get our hands dirty, let’s talk about what exactly Aloe Vera pups are. Imagine a proud parent Aloe Vera plant – these pups are its adorable offspring. They’re tiny, miniature versions of the mature plant, often sprouting at the base of the main stem.
These pups are like nature’s way of saying, “Hey, it’s time to make more Aloe!” They’re perfect for propagation, as they already have the genetic makeup of the parent plant. So, if you’ve got a healthy Aloe Vera, chances are you’ve got some pups waiting to be nurtured.
Materials You’ll Need
Now, let’s get down to business. Here’s a list of items you’ll need for this propagation project:
- Aloe Vera Parent Plant: Of course, you’ll need a mature Aloe Vera plant as your source.
- Sharp and Clean Knife or Shears: These will be your trusty tools for cutting the pups away from the parent plant.
- A Pot with Well-Draining Soil: Choose a pot that’s just a bit larger than the pup, and ensure the soil drains well to prevent root rot.
- Sand or Perlite: Mixing some sand or perlite into your potting mix will help improve drainage.
- Rooting Hormone (Optional): While not necessary, rooting hormone can give your pups a little boost in developing roots.
The Propagation Process
Step 1: Preparing the Parent Plant
Begin by carefully inspecting your Aloe Vera parent plant. Look for pups that are at least a few inches tall. It’s best to wait until they’ve reached this size to ensure they have enough stored energy for propagation.
Step 2: Removing the Pup
With your clean knife or shears, gently separate the pup from the parent plant. Be sure to cut as close to the parent plant as possible without damaging either the pup or the parent.
Step 3: Allow the Pup to Callus
After removing the pup, place it in a dry, shaded area for a few days. This allows the cut end to callus over, reducing the risk of infection when you pot it.
Step 4: Preparing the Pot
Fill your chosen pot with well-draining soil. You can mix in some sand or perlite to improve drainage further. Make a small hole in the center where you’ll place the pup.
Step 5: Potting the Pup
Gently plant the callused end of the pup into the hole you created. Pat the soil around it to provide stability. Water sparingly to prevent over-watering and root rot.
Step 6: Caring for Your New Aloe Vera
Place your potted pup in a location with bright, indirect sunlight. Aloe Vera loves the sun but doesn’t want to get roasted. Water your new plant sparingly, allowing the soil to dry out between watering sessions.
Conclusion
Congratulations, you’ve just added a new member to your Aloe Vera family! Propagating Aloe Vera from pups is a rewarding experience for any plant lover. With a little patience and care, you can watch your pup grow into a thriving Aloe Vera plant, ready to soothe burns and purify your indoor air.
So, go ahead, give it a try! Expand your green oasis and enjoy the beauty and benefits of these remarkable succulents. Happy propagating! ????