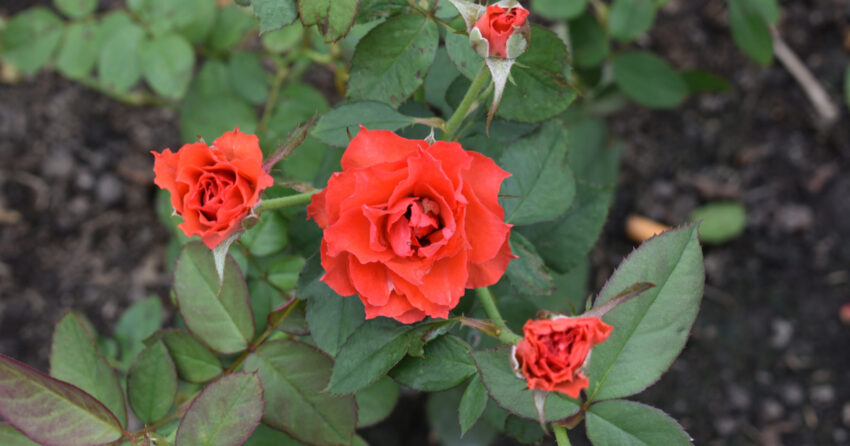
Roses, those timeless symbols of love and beauty, grace gardens and bouquets around the world. But did you know you can cultivate these captivating blooms from the humble seed? While growing roses from seed takes patience and a touch more effort than starting from established plants, the rewards are plentiful – the satisfaction of nurturing new life and the potential to discover unique rose varieties.
Seed Selection: Where the Journey Begins

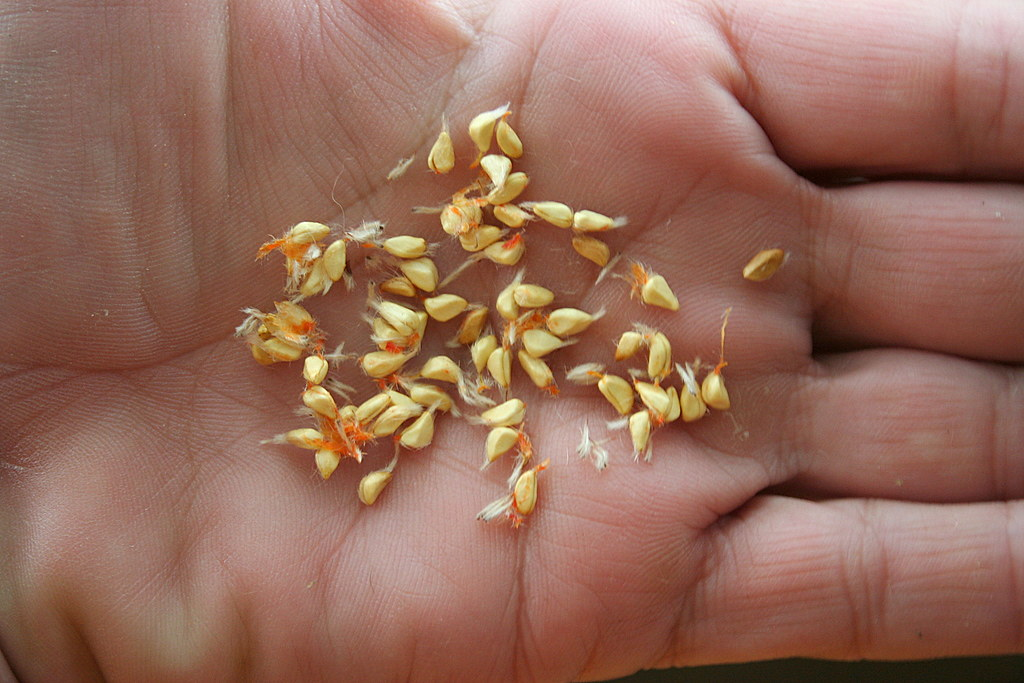
The first step is acquiring rose seeds. Unlike hybrid tea roses you might find at a nursery, roses grown from seed tend to be more unpredictable. They can be open-pollinated varieties, meaning they’ve been pollinated by a variety of rose bushes, resulting in offspring with unknown characteristics. This element of surprise adds to the excitement! Here’s where you can source your seeds:
- Save seeds from your existing rose bushes: If you have a rose bush that thrives in your climate, you can collect seeds from the spent rose hips (fruits) in late fall or early winter. Just ensure the hips are fully ripe and a deep red or orange color.
- Purchase seeds from reputable online retailers: Many online vendors offer a wide variety of open-pollinated rose seeds, often categorized by color or bloom type.
The Art of Stratification: Mimicking Winter’s Chill
Most rose seeds require a period of cold, moist stratification to mimic a winter season. This cold period breaks down the seed coat’s dormancy, signaling it’s time to germinate. Here’s how to stratify your rose seeds:
- Extract the seeds: Once you have your rose hips, carefully cut them open and remove the seeds. Rinse them gently to remove any remaining fruit flesh.
- Choose your stratification method: There are two common methods. The first involves placing the seeds between two damp paper towels in a sealed plastic bag and storing them in your refrigerator for 6-8 weeks. Alternatively, you can mix the seeds with moist sand or vermiculite in a container and refrigerate them for the same duration.
- Monitor and maintain moisture: Regularly check the paper towels or growing medium to ensure they stay damp but not soggy.
Planting Your Seeds: Nurturing New Life
After the stratification period, your rose seeds are ready for planting! Here’s what you’ll need:
- Seedling trays or pots with drainage holes
- Seed starting mix – opt for a well-draining and sterile mix
- Watering can with a gentle spray nozzle
- Fill your containers with the seed starting mix.
- Moisten the mix thoroughly.
- Sow the seeds on the surface of the mix, pressing them gently but not burying them deeply.
- Lightly mist the soil surface to settle the seeds.
- Cover the containers with clear plastic wrap or a humidity dome to retain moisture.
Providing the Perfect Environment for Germination
Place your planted seeds in a warm location (around 70°F) with bright, indirect sunlight. Here are some aftercare tips:
- Maintain consistent moisture: Avoid letting the soil dry out completely, but also prevent waterlogging. Daily misting or using a watering can with a gentle spray nozzle is ideal.
- Provide ventilation: If using a humidity dome, remove it daily for a short period to allow for air circulation and prevent mold growth.
- Patience is key: Germination can take anywhere from 2-4 weeks, so be patient and keep the soil moist.
Witnessing the Miracle of Growth: Seedlings Emerge!
Once your rose seeds germinate, you’ll see tiny green sprouts emerge. Here’s what to do next:
- Gradually acclimatize seedlings to lower humidity: Slowly remove the humidity dome or plastic wrap over a few days, allowing the seedlings to adjust to drier air.
- Provide strong light: As seedlings grow, provide them with plenty of bright, indirect sunlight for at least 6-8 hours daily. You can use grow lights if natural sunlight is limited.
- Thinning seedlings (optional): If you sowed multiple seeds per pot, you may need to thin them out once they have a few sets of true leaves. Choose the strongest seedling and gently remove the others.
- Transplanting: Once seedlings have developed 4-6 true leaves and a strong root system, they’re ready to be transplanted into individual pots or your garden bed.
From Seedling to Stunning Bloom: Long-Term Care
With proper care, your rose seedlings will mature into beautiful rose bushes. Here are some long-term care tips:
- Watering: Water your rose bushes regularly, especially during hot and dry periods. Aim for deep watering that soaks the root zone.
- Fertilizing: Feed your roses with a balanced organic fertilizer during the growing season, following the product’s instructions.
- Pruning: Prune your rose bushes regularly to encourage bushier growth, better air circulation, and more blooms. Research the specific pruning requirements for your rose variety.
- Overwintering: Depending on your climate, you may need to protect your young rose bushes from harsh winter weather. Mulch around the base of the plant with organic material like shredded leaves or compost. In colder regions, you might need to cover the entire plant with burlap or a breathable fabric.
Growing roses from seed can be a delightful adventure, offering the chance to witness the entire life cycle of these beloved flowers. With a little patience, dedication, and the guidance provided here, you can cultivate a thriving rose garden bursting with unique blooms that you nurtured from the very beginning. So, happy planting, and may your rose-growing journey be filled with fragrance and joy!

